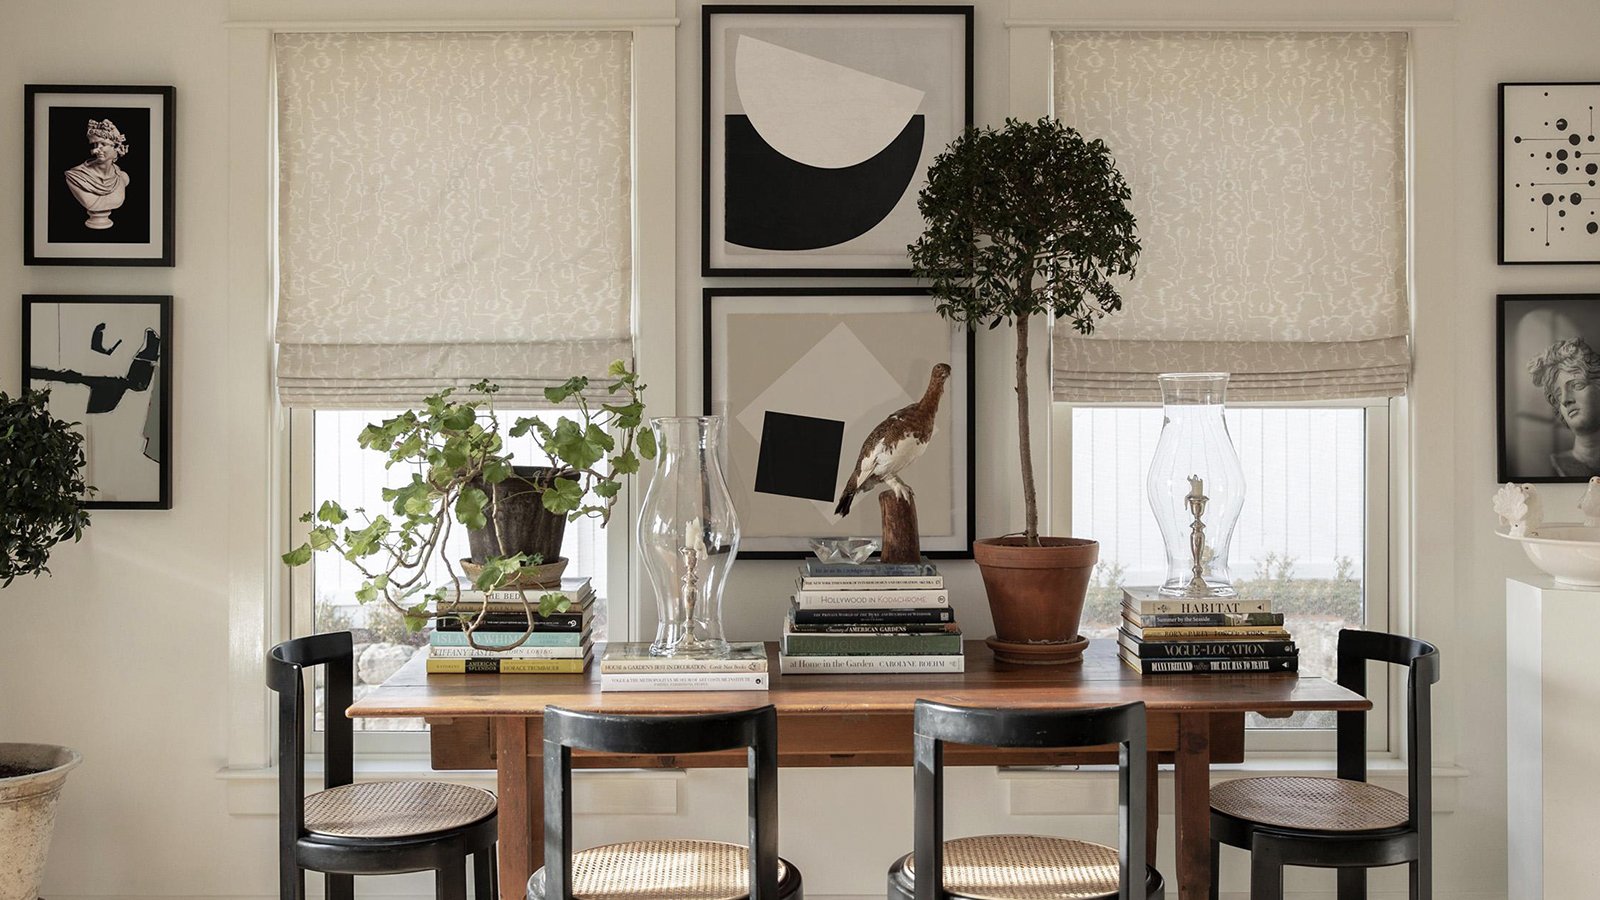
How To Create A Straight-Edge Gallery Wall

If the thought of precisely arranging a gallery wall so that all the pieces fit, complement each other, and happen to line up perfectly on all four sides is enough to make your brain explode, there's hope! The straight-edge look—a popular method for bringing order to an otherwise freeform gallery wall—is easier to accomplish than you might think. Here's how.
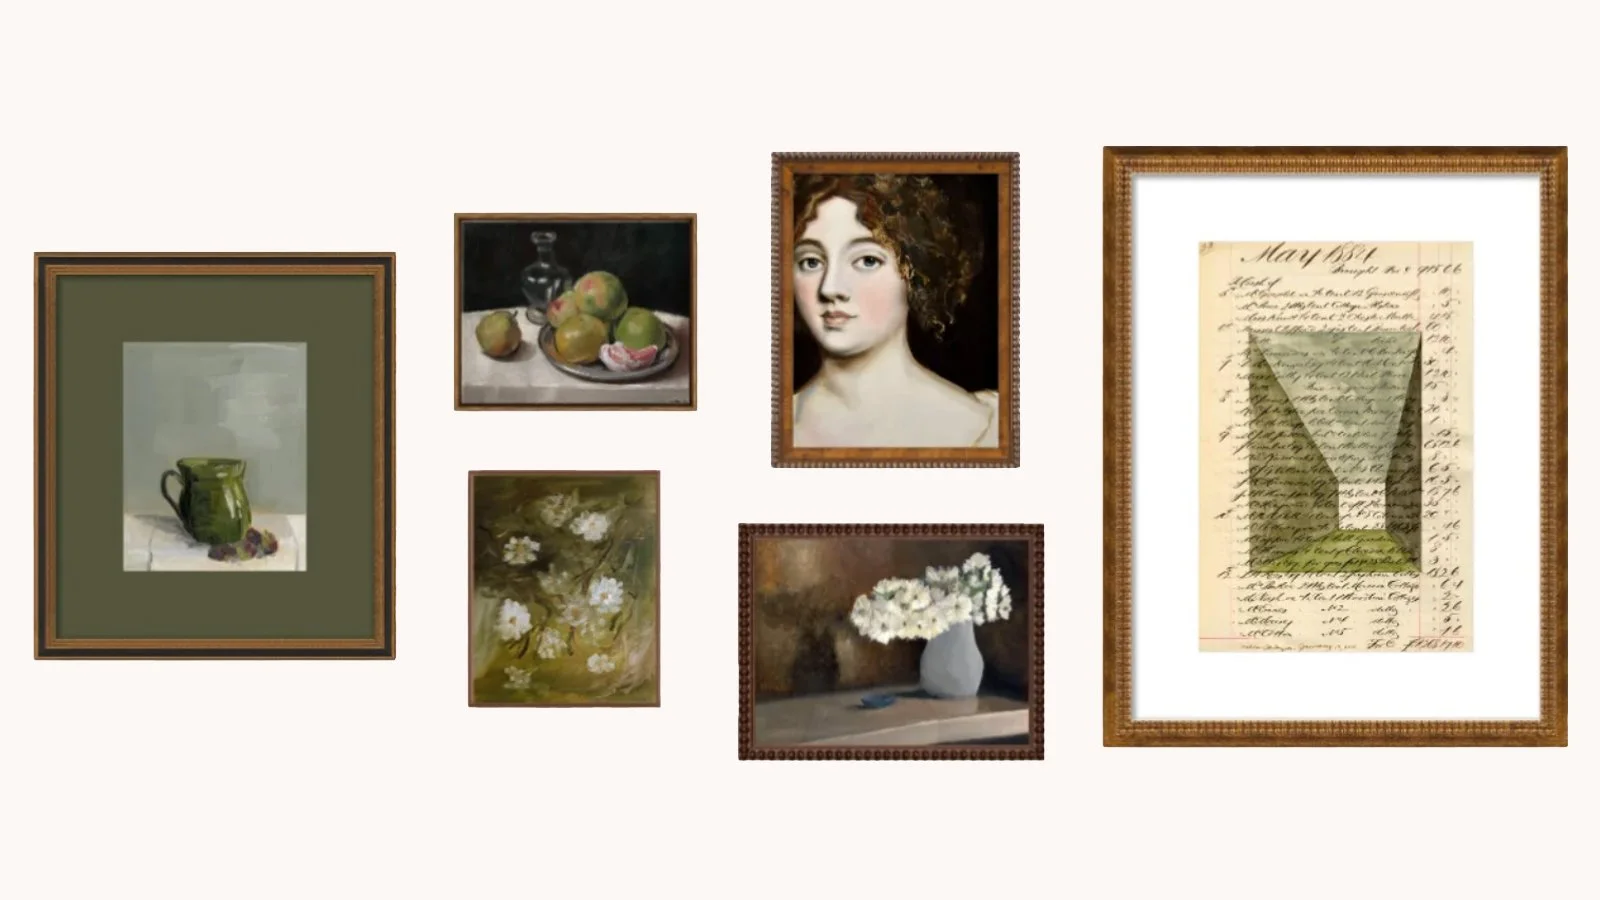
Step One: Choose Your Art

Head over to the Wall Designer and click "Select Art Work" to begin browsing the many pieces of art available on Artfully Walls. When you see something you like, go ahead and select it. It's very easy to delete pieces from your gallery wall later, so just have fun and choose a bunch of art that you like, without overthinking the process.
Step Two: Play With Sizing & Frame Options

Once you've selected a fair amount of pieces, click the "Back to Workspace" button to see your art in the context of a room! From there, you can slide the art around to see which pieces work well next to each other (and delete those that don't), and then add frames to your final art selects.
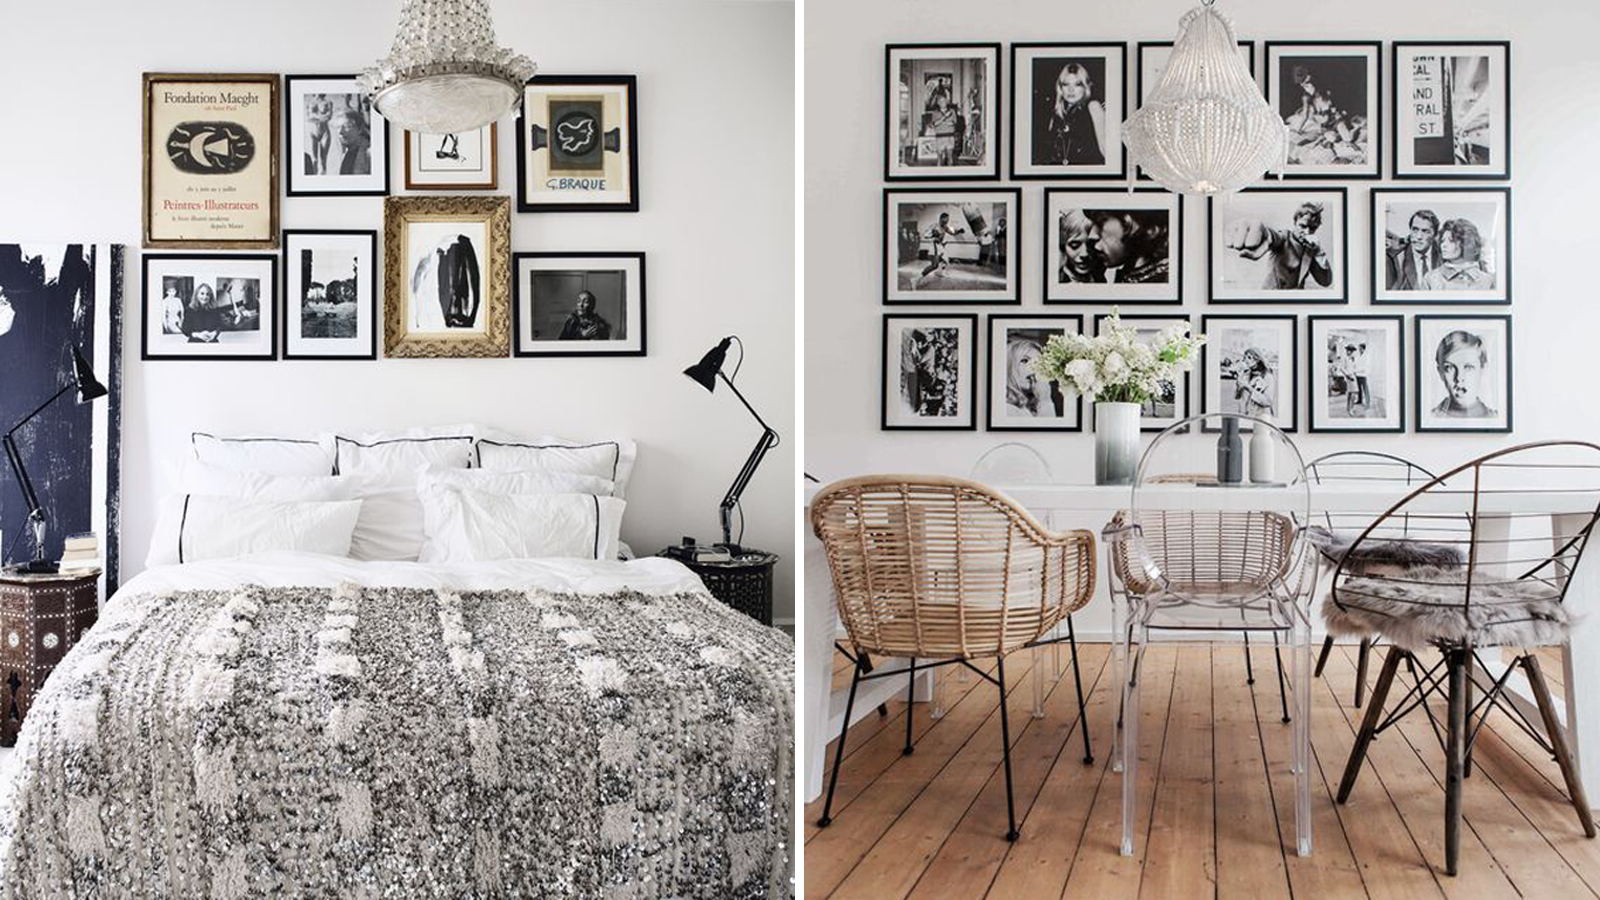
Step Three: Arrange With A Straight Edge

The last step is to simply drag the art into a grid shape and line up the edges for a straight-edge gallery effect. If there's extra space in the middle of your gallery, try adding smaller pieces of art to fill the voids. You can also try adding or removing the matting from framed pieces to adjust their final sizes to the needs of your gallery. This can all be done in a matter of minutes and then voilà—you've got a perfectly arranged straight-edge gallery wall that's ready to hang!